Back
Back


Vehicles
Adding vehicles

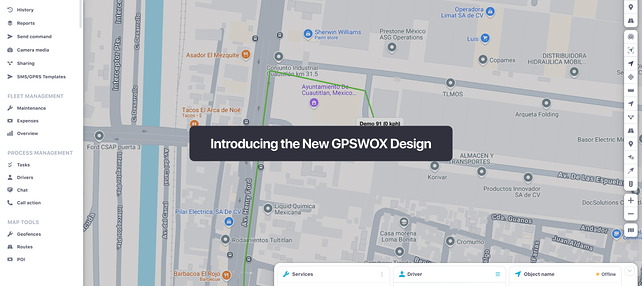
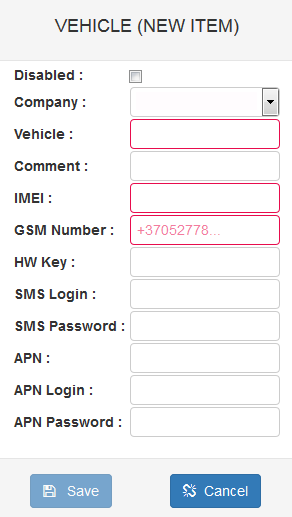
Press “Add New Vehicle” button shown in Figure above. Now you will have to fill the vehicle registration form shown in Figure below.
| ROW | DESCRIPTION |
|---|---|
| Vehicle | Name of vehicle, that will be displayed (Mandatory) |
| Comment | Enter a comment (Optional) |
| IMEI | Device IMEI (Mandatory) |
| GSM Number | SIM card GSM number (Mandatory for FM42/FM53) |
| Hardware Key | Necessary only when FM5300 firmware 01.02.xx is being used |
| SMS Login And Password | Enter SMS login and password (Required if configured in device) |
| APN | Type an APN (Optional, depends on SIM card operator) |
| APN Login And Password | Type APN login and password (Optional, depends on SIM card operator) |
Deleting vehicles
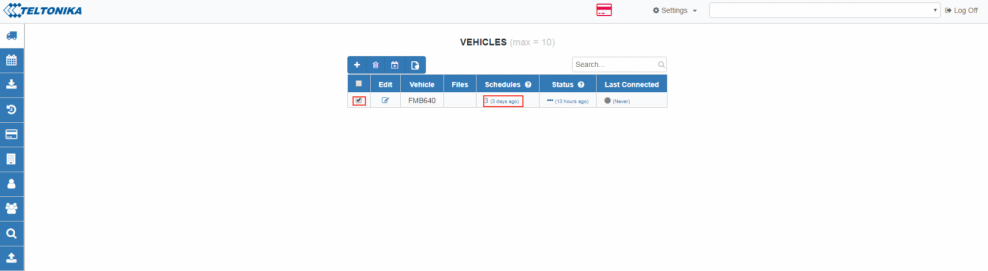
Select unnecessary vehicles and press the “Delete Selected Items" button visible in Figure below. After accepting confirmation message - vehicles will be deleted.

Creating schedule group
Select vehicles and press “Create Schedules For Selected Items” button for creating schedule group shown in Figure below.

Creating schedule for selected vehicle
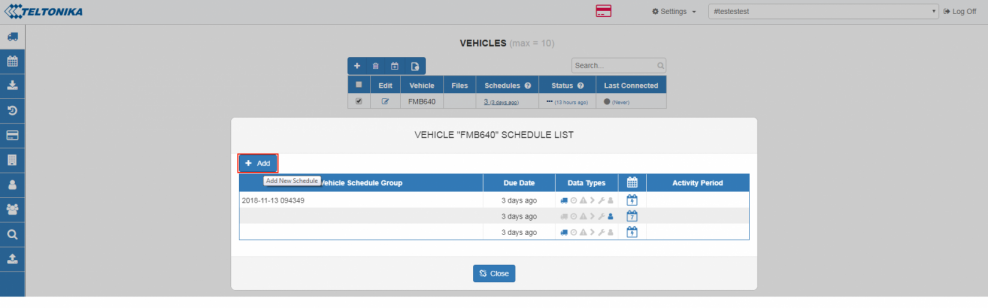
To create a schedule for the selected vehicle, Press on schedule count shown in Figure below:
In a pop up window shown in Figure below select “Add New Schedule”.
Importing vehicle data from *.CSV file
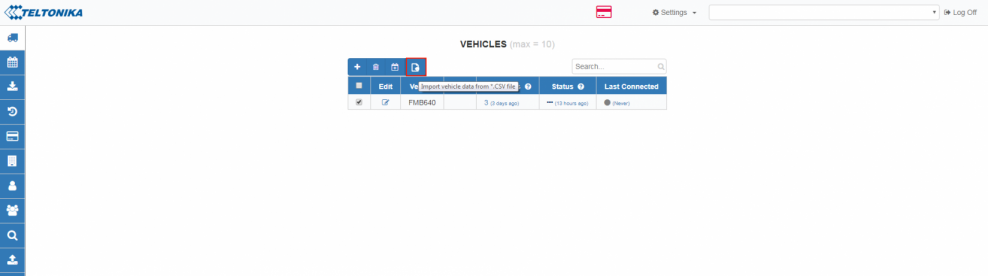
If you have more than one object, you can import all of them from the *.csv file. Press “Import vehicle data from *.CSV file” shown in Figure below:
To create a list of vehicles, enter all vehicle data in a text editor (usually Notepad) as shown:
- ObjectName;Comment;IMEI;FM63;Base;+GSMnumer;APN;APNusername;APNpassword;smsusername;SMSpassword;;
If there are no APN and SMS login or password columns, leave at the end of line semicolons:
- ObjectName;Comment;IMEI;FM63;Base;+GSMnumer;;;;;;;
Save this as CSV file by writing .csv at the end of the file name (for example Vehicles list.csv).