Admin panel: Setup
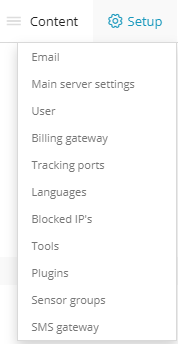
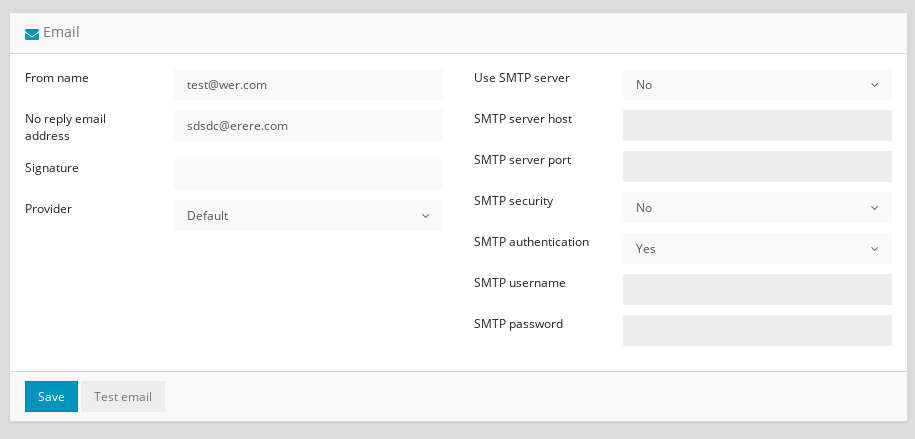
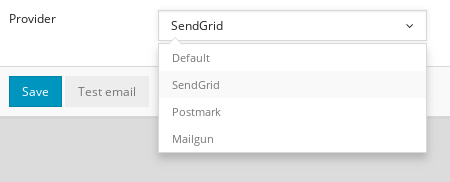
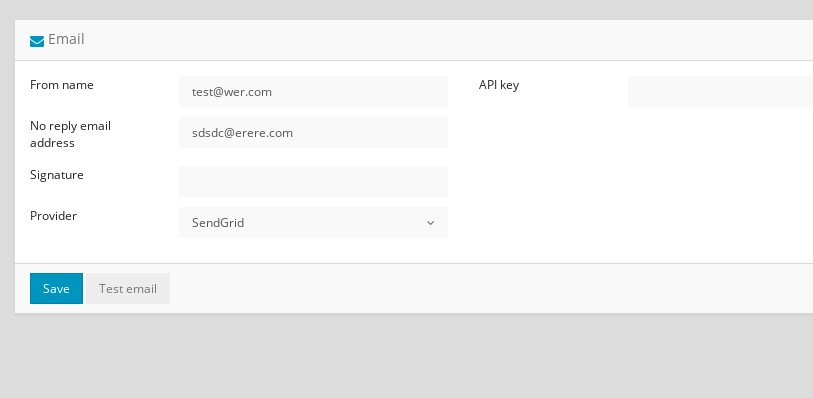
Admin panel - Setup has the menu for setup email, server settings, etc.
Main server settings
See separate page for "Main server settings" here >> Main server settings
User
The "User" panel provides the ability to apply settings to all new users.
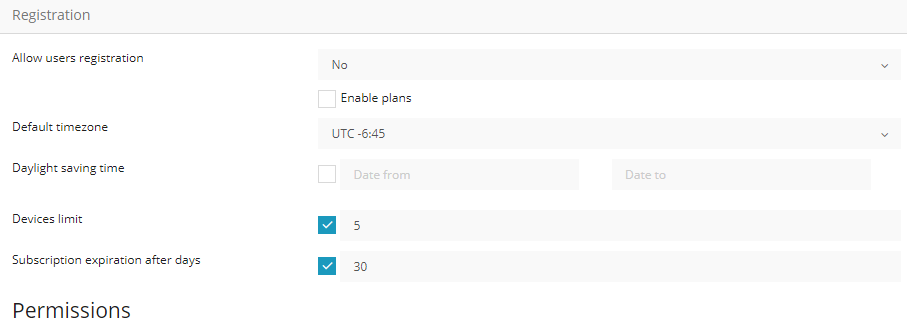
Allow registration - If enabled, new users can register from the login screen of the platform.
- Enable plans - This option enables plans for users. Each plan can be configured to allow specific features, device limit and period for a set price.
Default timezone - This setting applies a timezone to all new registered/created users.
Daylight saving time - If applicable, set the daylight savings time date.
Devices limit - A set amount of devices the user is able to create or it can be disabled to allow an unlimited object count. (This setting only applies if plans are not enabled)
Subscription expiration after days - A specific duration until the user expires after first registration. Can also be disabled. (This setting only applies if plans are not enabled)
Permissions - These are the permissions for features that every new user will receive upon registration. (This setting only applies if plans are not enabled)
To add paid plans to users, the "Enable plans" option has to be checked.
On the right corner of the "Plans" tab, select the "+" to create a new plan.

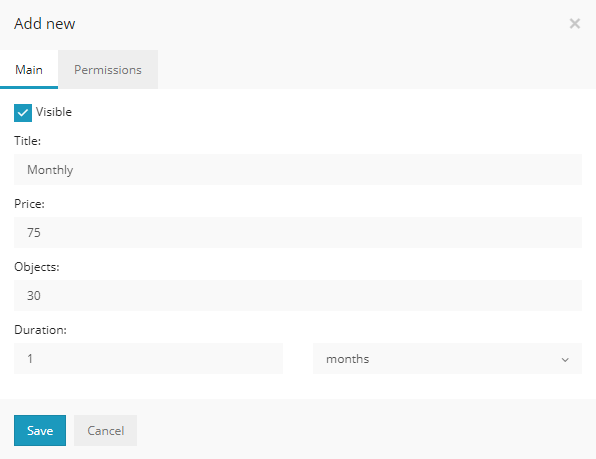
A new window will come up, prompting to fill out the title of the plan, price, object limit and duration. In the "Permissions" tab you can select which features the user is able to user for specific plans. The currency is used based on the settings in the "Billing gateway" tab.
Billing gateway
In this tab you can setup payment gateways if there are paid plans created and enabled.
Each payment gateway will require a set of keys and other information filled out in order for it to function. Please refer to the documentation provided by the gateway or contact their support for assistance in acquiring the required information.
Tracking ports
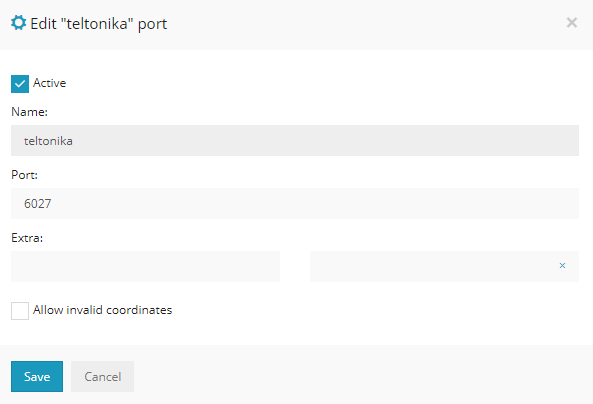
This is a list of all of the ports for each protocol that is integrated.

Languages
This is a list of all languages that are available in the platform.
If there are incorrect translations for your language, you can adjust them in the languages settings. They're location to right of screen. Under "Actions" select "Translate" to correct the translations.
The name and availability of the language can also be changed using the "Edit" option.
Blocked IP's
With this tool you can block an IP address to prevent flooding of the server with unwanted messages from a device or server.
To block an IP address, select the "+" icon on the right of the screen.

Tools
From the "Tools" tab, there are controls for database backups and clean up.
Database backups
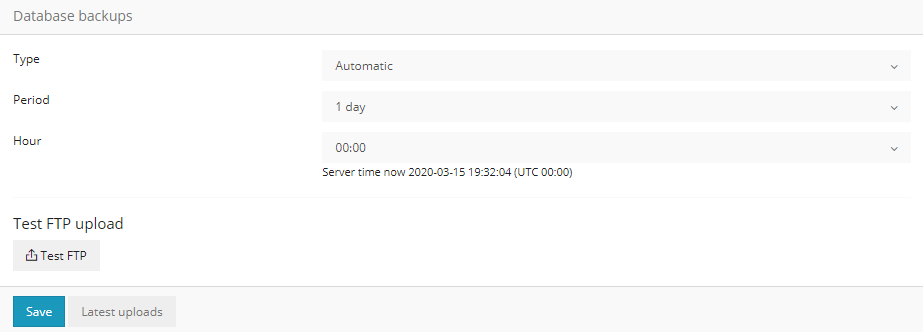
Type:
- Automatic - these are done automatically by the system to our external servers if the daily backups plan is active.
- Custom - allows to upload database backups to your own external server.
Period: How often the system should send backups to an external server
Hour: During which hour the database backups should be scheduled. The time is taken from the currentl servers time.
Device history database cleanup
The following options allow you to control how often the database should be cleaned. This is used to avoid overflooding the database, which will cause issues to the softwares availability.
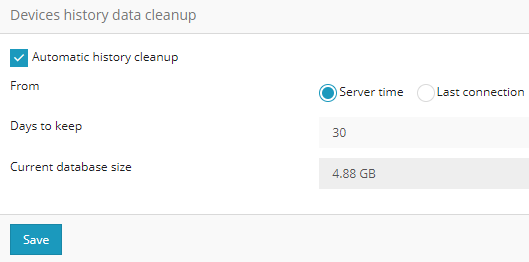
The system allows 2 methods of cleanup:
Server time - this option cleans up the database every 30 days for every device since the first start of the software.
Last connection - this option cleans up the database every 30 days since the devices first connection.
Current database size - how much the database is taking up hard drive space.
Plugins
From this tab you can enable certain tools and features which are not enabled by default.
All of the plugins and explanations can be found here.
Sensor groups
With this tool, you are able to create a sensor group from which multiple sensors can be applied to a device at the same time. It helps to avoid the manual process of creating the same sensors for each device individually.
To create a sensor group, select the "+" icon on the right corner. Once the menu shows up, grant the sensor group a title and hit save. The sensor group will show up in the list. To add sensors to the group, under actions on the right, select the gear icon and hit edit.
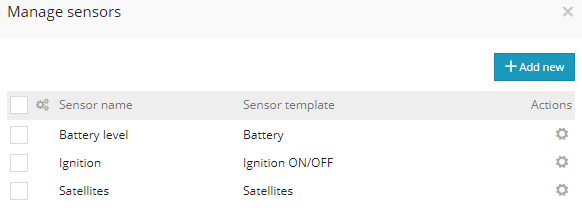
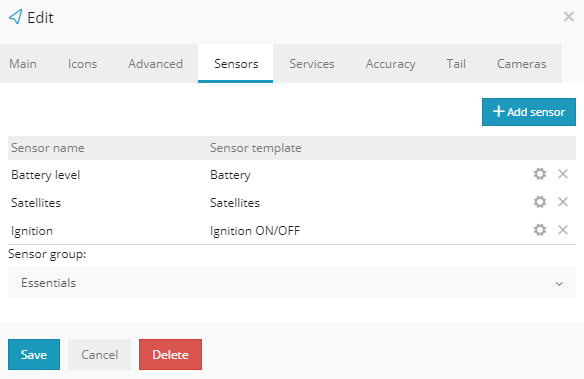
You can add as many sensors as needed. Once the sensors are created, navigate to the object's sensor tab and on the bottom of the menu, select the sensor group you've created from the "Sensor groups" drop down list.
SMS Gateway
This tool is used to forward SMS message from the platform to a tracking device or mobile phone. Either for automatic GPS tracking device configuration or receive alerts.
The SMS gateway service needs to be purchased from an external provider, such as Plivo, BulkSMS, or any other.
We also have an SMS Gateway application for Android devices, which will forward SMS messages to other users, devices. The application can be downloaded here.
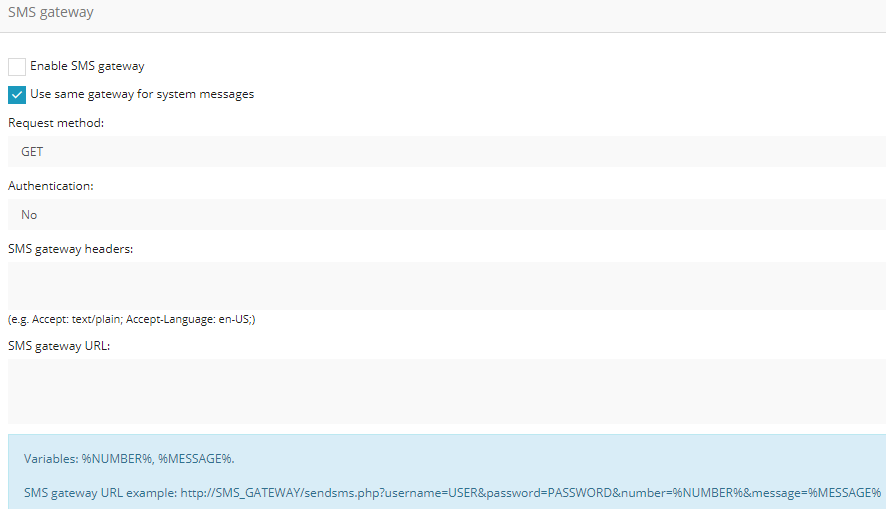
Enable SMS Gateway - Enable or disable the SMS gateway that is configured in the admin panel for other users. In this case, each user will have to setup their own SMS gateway.
Use same gateway for system messages - Allows users to use the configured gateway in the admin panel for system messages, for example, GPS device activation.
Request method - Available methods are GET and POST. Refer to the SMS gateway provider documentation for the correct method.
SMS Gateway headers - Required headers by the SMS gateway provider.
SMS Gateway URL - A complete URL string that will be used to send SMS messages.


